
There is perhaps no fruit more versatile than the tomato. It can be used in salads, soups, sauces and salsa, eaten raw or cooked, and boiled, fried, or canned. In addition, it contains a wide variety of vitamins, including 50% of the vitamin C needed in a day, nearly 25% of the vitamin A, folic acid, and lycopene. However, the tomatoes sold in stores simply do not compare to those grown at home, either in taste or nutrition. Luckily, it is easy to grow your own tomatoes. Simply follow the steps below, and you will be rewarded with a rich tomato harvest.
STEP ONE: START SEEDS INDOORS
Tomatoes take anywhere from 45 to 90 days to mature and they don’t handle cold well, so if you are starting from seed you will need to plant them inside. This should be done six to eight weeks before the last time you expect it to frost. Using small containers and seed starting soil, plant the seeds approximately an eighth of an inch deep and a half an inch apart. Water them lightly and place them in a warm area. Once they have germinated, place them in full sunlight or under grow lamps. As soon as they get their first true leaves, move them into their own containers.
(HINT: If you buy garden-ready seedlings from your local nursery, you can skip this step.)
STEP TWO: PREPARE THE SOIL
Tomatoes require lots of heat and sunlight, so choose a spot that gets sun for at least seven hours a day. In addition, in order to grow optimally, tomatoes need loose, fertile soil with a pH of 6.0 to 7.0. To ensure that your plants get what they need, till the garden and mix organic matter such as compost or manure deeply into the soil. If you don’t know the pH of your soil, get a soil test done to see if you need to add lime or sulfur. Next, cover the area where you plan to plant your tomatoes with dark plastic a few weeks before the plants go in. This will warm up the soil, providing your starts with the heat that they need to be their healthiest.
STEP THREE: HARDEN OFF YOUR SEEDLINGS
Tomatoes can be planted as soon as the nighttime low is higher than fifty degrees. However, to keep them from getting transplant shock, you will need to get them used to the outdoors. To do this, set them outside in their containers for a couple of hours. Gradually increase their time outdoors over the next week until they can handle a full day.
STEP FOUR: PLANT
Dig a hole that is about a foot wide and at least a foot deep. Put in a handful of compost and add crushed eggshells to make sure that your plants get enough calcium. Next, bury 75% of your plant, including the bottom leaves. This will help them develop a stronger root system. The plants should be 1 1/2 to 3 feet apart, depending on the variety.
STEP FIVE: WATER
As soon as your seedlings are planted, soak the ground with about a gallon of warm water. Continue to water two to three times a week, providing the water straight to the roots to prevent disease and pests that can result from soggy plants. Water slowly, preferably with a drip system, and make sure that they get one to two inches a week. To keep this water from evaporating, add mulch a week or two after planting.
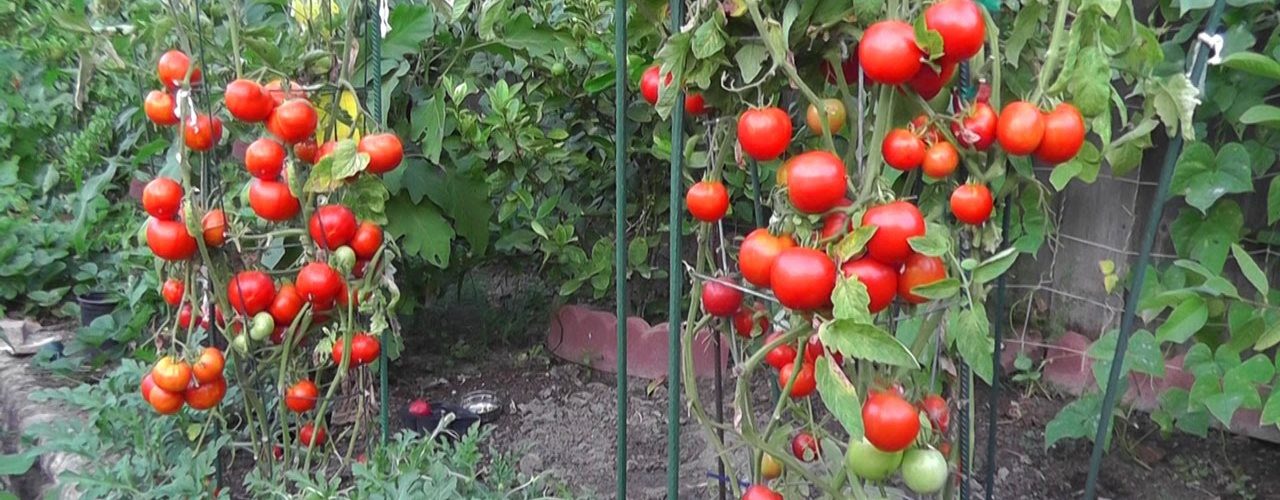
STEP SIX: SUPPORT YOUR GROWING TOMATOES
Tomato plants need to be kept off the ground to keep the leaves from developing fungus and the tomatoes from rotting. To accomplish this, install stakes, cages, or trellises about two weeks after planting your tomatoes. Place the support around or near the plant, and if using a stake tie the stem loosely to it every couple of inches.
STEP SEVEN: HARVEST
Depending on the variety of plant, it will take between 45 and 90 days before you have fruit. It will be green at first, but the tomatoes are not ready to pick until they have a deep, even color and a glossy, smooth tone.
<>


