
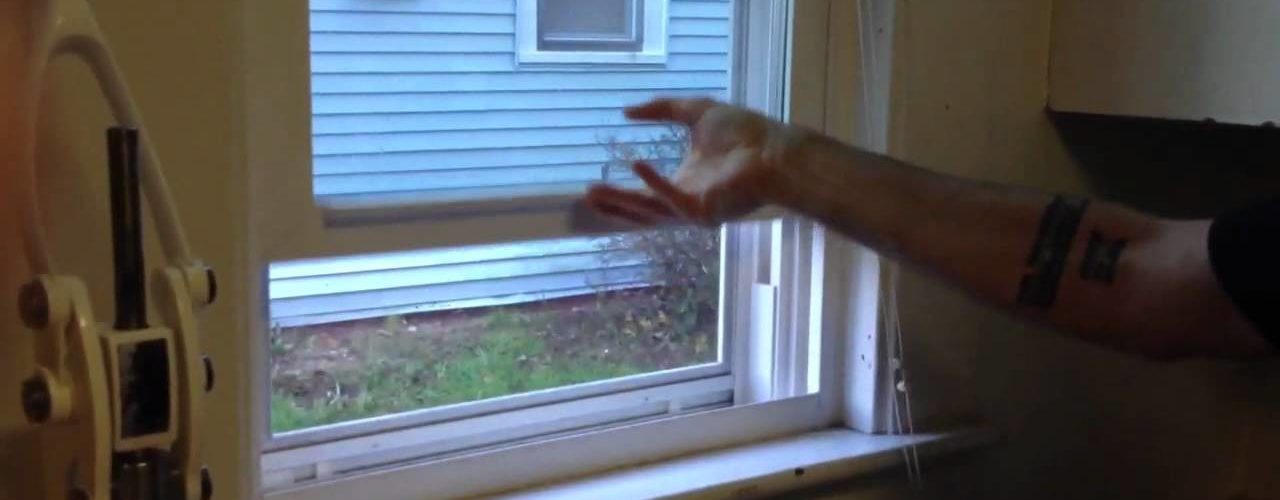
Leaky or drafty windows are a real pain for a homeowner. Although drafty windows can be annoying, leaking windows may actually cause water damage to your walls, or perhaps even the furniture occupying the space near the window in question. The main reason for drafty or leaky windows lies in the fact that the seal between the outside frame and the window glass itself has broken or become separated.
The first thing that you will have to do is to decide if the separated seal is the one between the aluminum frame and the cabin top made of fiberglass, or if it is instead the one located between the glass and the aluminum framing. After you pull off the rubber trim molding located along the inside of the window’s frame, you will be able to investigate where the water is collecting. If you see water building up in the trim molding’s channel, then likely this is a frame to glass seal which has become separated.
Fixing a frame to glass window seal leak involves the following nine steps. First, you must take off the window from the frame, ensuring that it does not fall and break. Second, you should completely remove the failed seal altogether. Third, you must ensure that you cut along the edges of the entire glass, literally up against the aluminum frame, using a razor edged knife in order to completely remove the other old seal, which is likely made of a silicone rubber material. Fourth, you should cut utilizing your blade pressed along the glass to break the seal. Fifth, you will want to clean the entire area of the former seal with either a glass cleaner, ammonia, alcohol, or perhaps solvent, in order to ensure that any remaining dirt and silicone bits are entirely removed. Sixth, you should replace the removed seal by employing a good, clear heavy duty silicone, ensuring that you utilize an ammonia based seal, rather than an acid based one.
Life Seal is a recommended silicone based seal for this job. Seventh, you ought to make sure that your silicone seal tube makes the silicone go down fully into the cutout area for your new seal. Eighth, you must put down a line of masking tape in order to ensure that you finish up with a nice straight edge on the glass side of the seal. And finally, take a not sharp wooden stick or other plastic piece which is moist and go around the seal with it to ensure that your sealer will not stick.
Fixing a cabin top to frame window leak can also be done in nine steps. You begin by once again taking out the window and the frame from the hull. Second, you must take all of the mastic gum off of both the aluminum frame and the cabin top made of fiberglass. This will not be easy, but you must succeed. Attempt to clean off as much as you can before you resort to tough solvents, such as VC thinner or acetone. Third you must inspect your frame to ensure that it is still straight.
Should it be bent, then it will probably leak after you finish your repair job. Fourth, put the window in the opening to check for any open spaced gaps. Fifth, take a pencil and use it to mark the outside of the cabin top surrounding the frame, or at least at the corners, so that you will remember where it is that the frame fits exactly. Sixth, you must put on a new seal; typically one which is a butyl rubber seal is recommended for the frame’s back side. Seventh, you have to put in the rubber, only remember not to stretch it to fit. Eighth, place the two ends of the butyl rubber seal snugly together at the window’s bottom, being careful not to let the rubber overlap. It is a good idea to make sure that the seal is just a little bit long; this way there will be pressure keeping the two ends attached. And lastly, put your window back in its frame.
Related Posts
- How To Soundproof A Window?
- How To Install Replacement Vinyl Windows?
- How to Install a Window Air Conditioner?
- How to Seal Windows for the Winter?


