
When you know how to build a garden fence, you will not only be able to keep critters out, but you can make your whole outdoor space look more pulled together and give it a lovely flair.
So you’ve got the space and the garden, and you want to build a fence, but you don’t really know how. You’d like to save money if you can and do it yourself, but you’re going to need some help to get going. Plus, you want a fence that is going to stand the test of time and look nice year after year, so that rules out lots of unattractive but easy options.
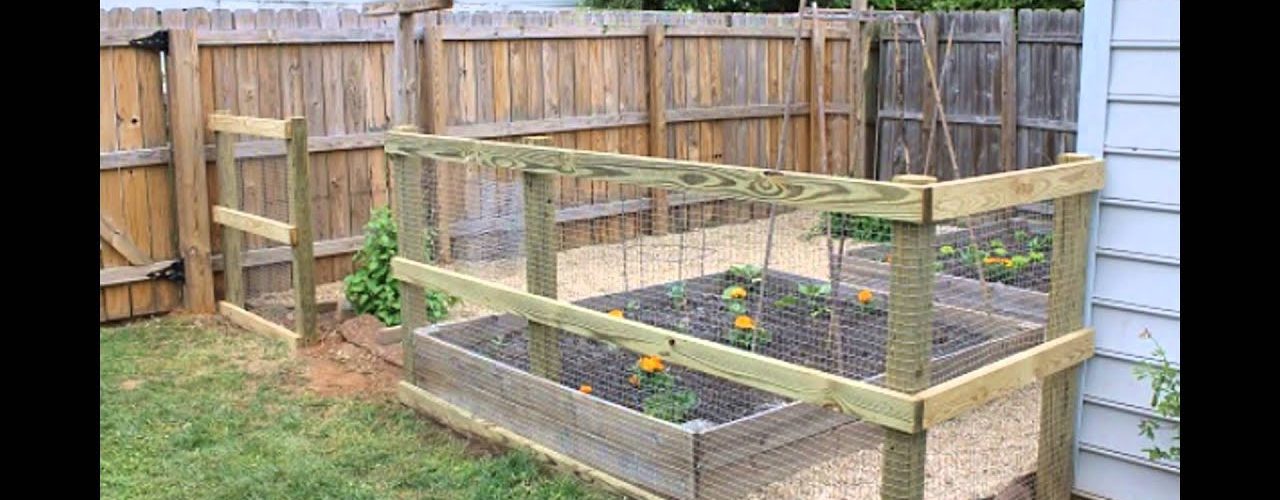
A custom picket fence is an attractive and durable option that will look great for years to come. Plus, it probably won’t cost you much more than $1000 and it’s relatively easy to make.
Gather your materials
Your list of matierials should include pressure treated posts and boards, gravel, 2″ galvanized nails and premixed cement. You should also make sure you have all the tools you need to complete your job. These include a wheelbarrow, a circular saw, post hole digger and drill. You will also need a level, a tape measure, a framing square and a shovel to build your garden fence.
Time to get started
Once you’ve gathered everything you’ll need to do the job, it’s time to get going. DIY Network offers step by step instructions that can help you to build a professional looking picket garden fence, so you may want to look here: DIY Network.
The first step is to plan where you’re going to put your fence. Start at the corners and make marks with spray paint. Then, mark spots for the rest of your fence posts. Making sure that they are spaced evenly at less than 8″ apart will ensure that your fence looks as if it were professionally built. Also, don’t forget about your gate. When you’re planning a gate, you need a fence post on either side, so plan for this and have the right measurements.
Posts and more
Once you’ve got the location of your posts in place, it’s time to start digging. A post hole digger or a two person auger will do the job well. Make sure the holes measure two feet, or 24″ deep by one foot, or 12″ wide. Don’t forget to add a couple of inches of gravel to the bottom of the hole for drainage before placing your fence post in the ground and bracing it with boards. Before you pour the cement, it’s essential that you make sure that all of your posts are level and plumb, as this will make the whole project go more smoothly.
Next, it’s time to begin cutting the boards for your fence. You can choose to make a template or buy pre-cut pickets to make your job easier. Once you have all of your pieces cut out, you’re going to begin building your panels by attaching the pickets of your fence to the rails. Rails should be spaced about 32″ apart for maximum stability. Attach the pickets to the rails with deck screws and you’ll have your panels.
Putting it together
Once you have your fence panels and gate assembled and the cement on your posts has dried, it’s time to put your garden fence together. This is the easier part to the job, but it’s important to make sure that everything is even and level. Use galvanized “L” brackets attached to the fence railings to make sure the construction is solid and lasts.
Once you know how to build a garden fence, you’ll find that the job goes smoothly and easily and you’ve got a nice functional fence that you made yourself.


