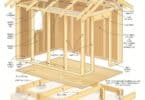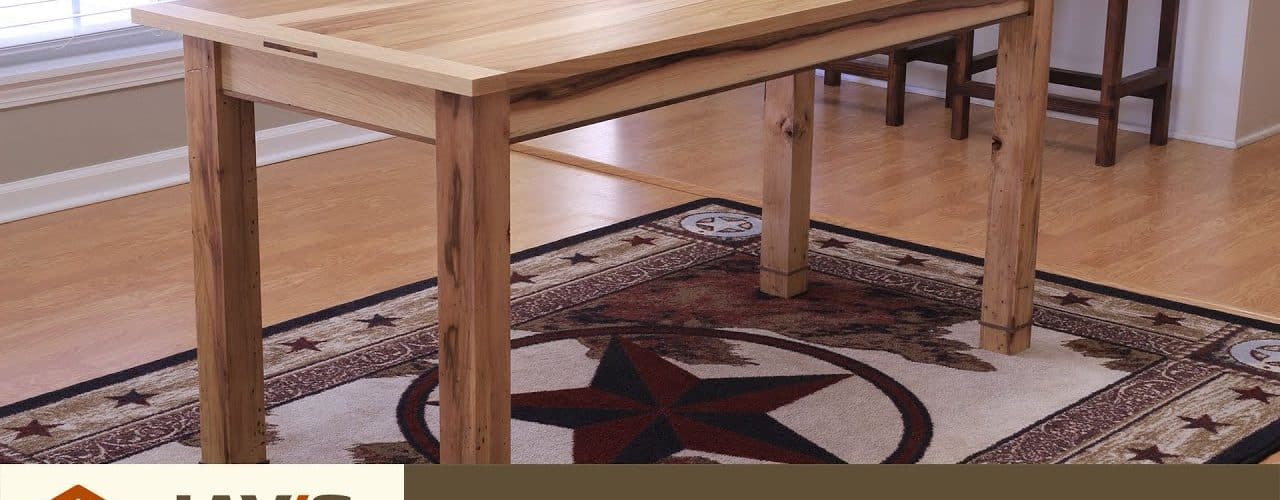
Constructing The Top Of The Table
Step 1. The first thing that you will need to do when you want to make your own dining room table is to decide what shape you want the top to be. The possibilities are truly endless. You can opt for a rectangular, square, oval or round shaped table or you can select a shape that is special and unique.
Step 2. You will need to purchase a 4’ x 8’ sheet of plywood that is ¾’’ thick. This can be purchases in pine, oak, cherry wood, mahogany or any other type of wood material you wish to construct your table in. Keep in mind however, that the more exotic the wood style that you select the more expensive this can be. You should also know that in order to get the best results and to make sure that your table lasts for many years to come you will need to know about any special maintenance certain wood varieties will require.
Step 3. You will need to draw your desired pattern onto the 4’ x 8’ sheet of plywood. Using a saw cut out your pattern. If you have someone who can help hold the wood for you it is possible to use a table saw. If you are going to be doing this project alone it is probably going to be easier to use a handheld jigsaw style saw to cut out your wooden pattern that will be used for the top of the table.
Step 4. Use an electric sander or router to round out the side edges for your table top. This will help to produce a more desired finished look when your table is completely constructed.
Step 5. Sand the entire surface of your table top with a fine grit sandpaper. This will remove any rough edges and even out the surface for a more appealing finished table top.
Step 6. On the underside of your table you will need to determine where you want to place the legs for your table. Use a measuring tape to mark them accordingly and to make sure you can maintain stability and uniform structure for your table.
Step 7. Use a round cutting bit that is approximately 1” in diameter to cut down into the wood on the underside of your table. You will only want to cut down ½” to provide the proper support area for the legs of your table. You will need to chisel out the rounded area and make sure that it is as flush as possible. Do this for all 4 leg positioning locations that you have marked out.
Alternative Table Top Method
An alternative method for constructing your dining room table is to use a door as your table top. Solid core doors provide the best results and give you the ability to cut and shape your table top to your style. Make sure that the door has a flat surface and is not patterned.
Constructing The Leg Supports For Your Dining Room Table
- Step 1. To construct the leg supports for your dining room table there are various ways to do this. You can either purchase spindles that are sold in a home improvement store and most commonly used for decorative staircases or you can opt to make them out of 2” x 2” pieces of lumber. Determine how high you want your table to stand from the floor. This is the length of the spindles you will need to purchase. If making your legs from 2” x 2” lumber you will need to purchase enough to make four legs for your table.
- Step 2. When you have four spindles or 2” x 2” pieces of lumber in your desired length you will need to use your round 1” diameter cutting bit to drill around the top of the leg. Only cut down ½”. This will be the rounded area inserted into the underside of the table top. You will need to remove all of the excess wood are the circular cut you made to make sure that it will fit into your rounded out hole on the bottom side of the table top.
- Step 3. Use a medium grit sandpaper to make the rounded out support as smooth as possible but do not take away from the diameter of the circular area as this will cause an improper fitting when put in place with the table top.
- Step 4. Apply a generous amount of wood glue into the hole located on the bottom of your table top. Place the leg into the hole and clamp it together with a vice grip or c-clamp making sure that there is pressure placed on the area but not enough to damage the pieces.
- Step 5. Allow this to dry for 24 to 48 hours before removing the vice grips or c-clamps.
- Step 6. Apply your desired stain, paint or finish.