
Have you been given some furniture, or picked some up really cheap, and thought that it would look really fantastic if it was refinished? Or have you purchased some unfinished furniture that needs finishing? There is a great feeling that comes with finishing your own furniture. There is a misconception that staining wood is tricky and difficult. But that is not necessarily the case. If you are prepared with the right knowledge, you can stain your own furniture and you will be thrilled with the results.
Materials Needed
Heavy plastic drop cloths
Rags
Applicators of choice
Sandpaper in 120 and 220 grit
Paper towels and cotton swabs
Mineral spirits
Rubber gloves
Contents
Start by Choosing the Right Wood
Whatever project you are making, choosing the right wood at the beginning will make the difference between a great finish and a terrible one. If you are building the project yourself, examine every piece for split ends, knots and warping. Remember that nicks and dents in the unfinished piece may not show up, but once you finish the item they may stand out more.
Preparing the Wood
If you are refinishing an item, sanding is everything. Most damage that occurs over the years can be sanded away to improve the finish. Small holes can be filled with wood filler. Dents and dings can be filled with wood filler, but tread lightly before doing so. In an older piece, the nick or ding that is finished over can add character and appeal to the item. While filling it in will leave the surface completely flat, you will also be left with a spot that will not take stain as well. Even the stainable wood fillers do not absorb and show the stain the same way as regular wood. Remember that every spot your place wood filler in will probably show through the finish before you reach for that can.
Sanding the Wood
Start with the lowest grade of sandpaper (#120) and work your way up to the finer grade (#220). Always sand in the direction of the grain as sanding across the grain will leave noticeable scratches. Run your hand across the wood as you sand, you want the surface to feel as smooth as butter. While sanding is important, removing all sand dust is also important. A clean, dry, fine bristle brush can be used to knock most of the dust loose. A shop vacuum with a soft bristle attachment can also be used. Be sure that you follow up with a paper towel dampened with mineral spirits to get all the dust cleaned away.
Choose the Right Applicator
It’s tempting to buy a cheap, disposable applicator. While this simplifies clean-up at the end, it complicates the more important job of applying the stain. A high quality brush will hold more finish, so you don’t have to dip it as often. The work will be cleaner and neater with less dripping and running. You won’t have bristles pull out as you are working and there won’t be lap marks in the finish. Best of all, the next time you have a project to do, you will already have the proper tool on hand to use.
Wood Sealer
Soft woods, such as pine, should first be sealed with a wood sealer designed for staining. This will prevent the stain from soaking in too much in some areas and not enough in others. You will be left with a cleaner, more consistent finish. This step is not necessary for hard woods.
Applying the Stain
There are two choices when staining your items. You can purchase traditional stain with a separate polyurethane clear coat, or you can purchase stain and clear coat that are combined in one. The choice is a personal one. Some people prefer the separate steps, others are happier with the combined option.
Traditional Stain
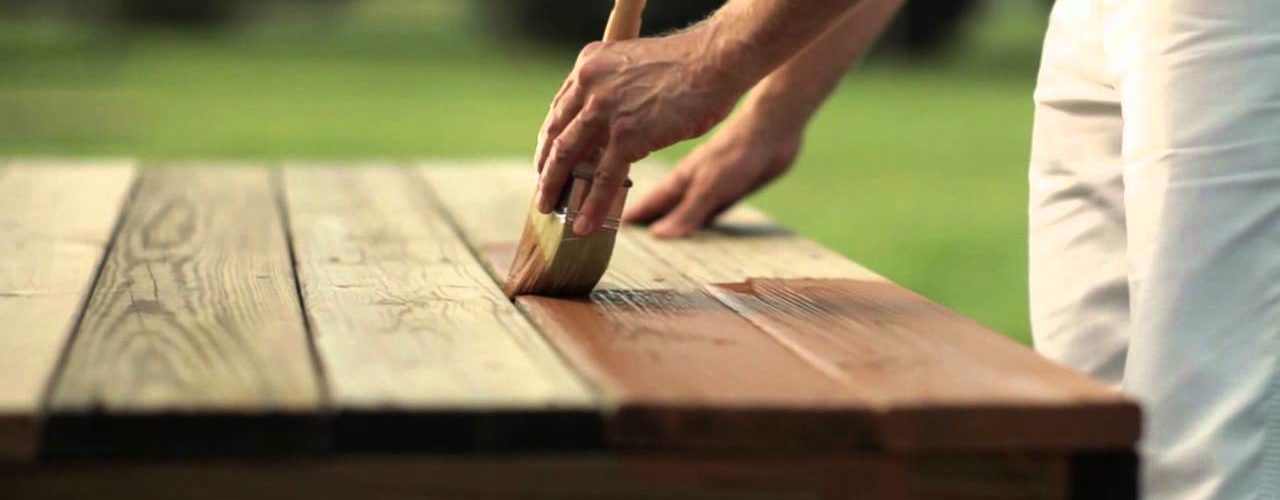
If you choose for regular stain, you will have a larger variety of shades to choose from. When you open the can, stir it gently with a paint stick. Be sure to scrape the bottom and thoroughly mix it. Apply the stain to the wood with strokes that follow the wood grain. Go slowly to avoid drips and drops. The longer the stain sits on the wood, the darker the color will become. However, leaving the stain on the wood can also result in it absorbing unevenly. To avoid this, the excess stain should be wiped off with a clean cloth relatively quickly. Wipe the stain away in the direction of the wood grain. If the finish is not dark enough, another coat can be added. Allow the item to dry thoroughly. Sand it lightly with #300 grit or higher sandpaper and clean all the dust away completely. Apply a second coat of stain following the same direction.
Stain and Lacquer Combined, or Applying Polyurethane
This product has the benefit of requiring fewer steps. You also will not wipe away any excess stain since it applies more like paint. As with stain, be sure the product is stirred thoroughly before applying. It should be applied with a steady hand and smooth strokes, following the direction of the wood grain. If a second coat is required, allow the finish to dry thoroughly, sand lightly with #300 or higher grit sandpaper and reapply.
Related Video:
How to Stain Wood : How to Apply Stain to Wood
<>


