
Do it yourself closet organizers are an important part of keeping your home and life clean and orderly. You have probably seen commercials on TV boasting that their organizational systems are the best. The truth is, you can make your own homemade system for a lot less money, and it’s just as effective! Follow these tips to begin your home project, and we’ll teach you the best ways to organize your closet.
Before you go anywhere, you should start stripping your closet clean. Put on some good music, and completely empty the closet.
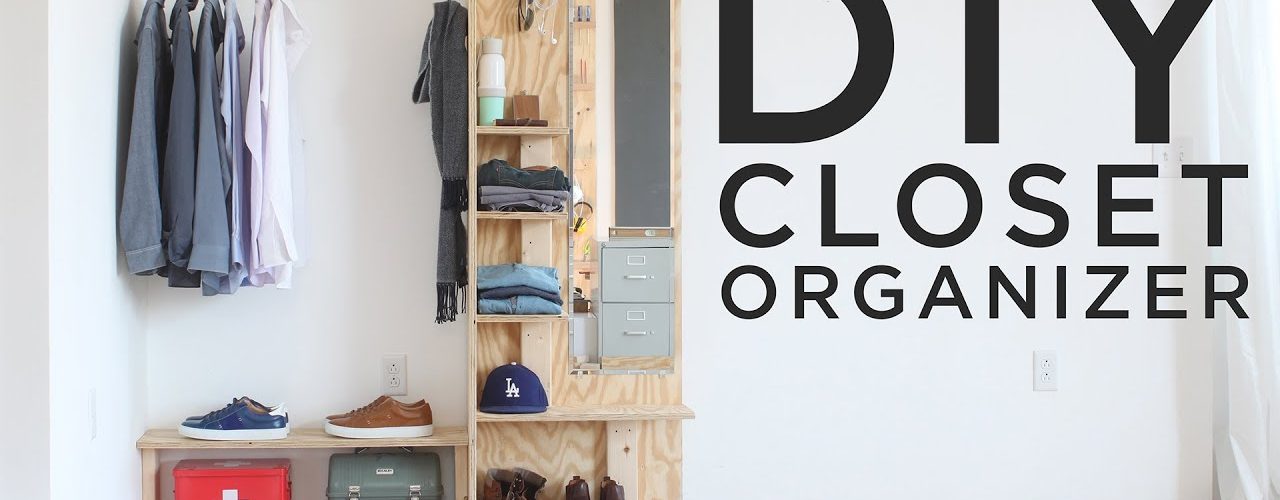
Those Roughneck garbage cans can be used to store more than just garbage. A great way to start off in building your own do it yourself closet organizer is to by two of these cans. They can be opened to store extra items. Better yet, you can slip these under a table or shelf in your closet.
Our design is going to use the following items:
- Two plastic garbage cans
- Two plywood shelves
- Four stackable plastic drawers (these can be purchased from Rubbermaid or other companies)
- One wooden mini-dresser (two drawers)
- Brass brackets
- Rubber bumpers
Our first job is to inset a new shelf into the closet. Measure the height of each of your garbage cans wth a tape measure. Build a shelf at two inches above the height of each of those cans (or the height of the tallest can). Run down to a lumber store and get a piece of hardwood. We are going to use brass brackets, and drill the shelf into the wall.
Once the shelf has been inserted, slip your two garbage cans beneath the hardwood shelf. They can be stored beneath the shelf, and pulled out when you need to access the items inside (this is a great place for toys in a child’s closet).
Take your clothes and neatly fold them into a pile. We will now use epoxy glue to bind the rubber bumpers to the bottom sides of two of the stackable drawers. These will stop the drawers from slipping off of the shelf, because no one wants to pick up that kind of mess!
Once the epoxy glue has dried, you will stack the drawers on a two-by-two (2×2) pattern on top of the shelf. Make sure they snap and lock into place. Now pull the drawers out and fill them with your stacked clothes.
Measure the height of your stacked drawers, add an extra 1 ½” of space, and drill in your second shelf an inch and a half above your drawers.
Measure out the length and width of your new shelf. Smear a proportionate amount of wood-bonding epoxy glue onto the shelf, and set your new wooden dresser to dry atop it.
This design gives you a lot more storage space, and can easily be done with your home products and tools. Each of the drawers are secured, and will allow you to store your clothes and organize your closet, as opposed to simply stuffing them inside of the space.
Not only does this design give you a lot of room, but it looks great, too!
If you want to add a bit more color into the mix, paint and prime your drawers before you install them in the closet.
For a food closet, you can use the same strategy, but add more shelves into the closet. Plywood shelves are generally inexpensive, and can be purchased from a store like Dunn Lumber for a much less than buying a prepared closet kit with standardized sizes.
For an even more innovative design, use a pivoting spring. Drill the pivot into the centre of a circular piece of plywood to make a rotating shelf. This is great for food closets to display different types of cereals or foods, and saves a lot of space. Instead of stacking all of your food items up on shelves you can rotate them around in a single shelf, and pick from a variety of your favorite items.
Related Posts


